Simple End Table With Drawer Plans
Learn how to build this cute side tabular array with plenty of storage for your blankets, books, or games.
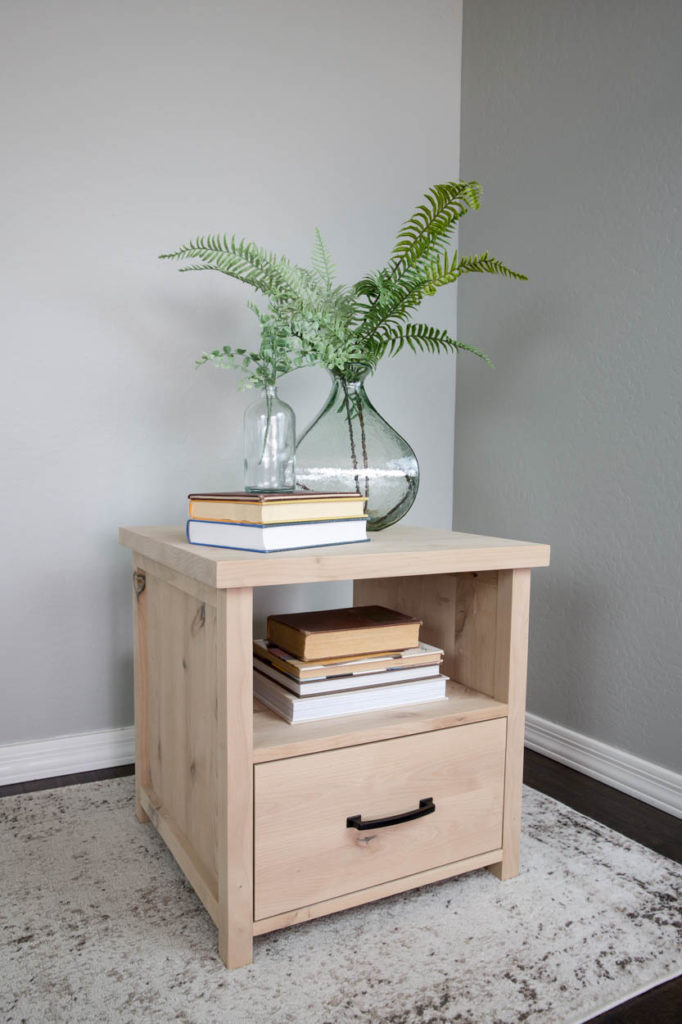
I've got a brand new side table project to share and I am thrilled with how it turned out! I'k partnering with my friends over at Build Something to bring you the printable plans for this project, which you can download on their site. This side table has plenty of storage and also plenty of infinite for you to brandish your books or abode decor. I'm sharing the photo tutorial below and I've also put together a video of the unabridged build.
*this post contains affiliate links
Why Build Your Ain Furniture?
The beauty of building your ain furniture is that it costs FAR less to build it than buy it. In fact, I was just recently talking about this and said that I build furniture to fit my attention bridge. Seriously! If a slice of furniture lasts for years and years, keen! Just if my tastes suddenly change and I make up one's mind I desire to build something new for a room, it doesn't break the bank like it would if I were BUYING new furniture.
Some other huge benefit? If something needs to be repaired, you lot can probable fix it very easily. For case, let's say your oldest son's friend gets locked under your youngest son's bed and decides to boot his way out and breaks to door off. You lot tin can fix it! Trust me, that helped me calm down A LOT when that incident happened. Imagine if I had bought that captain's bed and had to attempt to detect a replacement door?!
Sentry: How To Build A Side Table With Storage
Stride By Step Tutorial: How To Build A Side Table
I built this side table using rough-cut knotty alder. This ways that I had to mill down the lumber to dimensional sizing. I drew up the plans for this project to reflect dimensional lumber sizing (for example: a two×ii is 1 1/2″ 10 i 1/2″) to make it easier to follow.
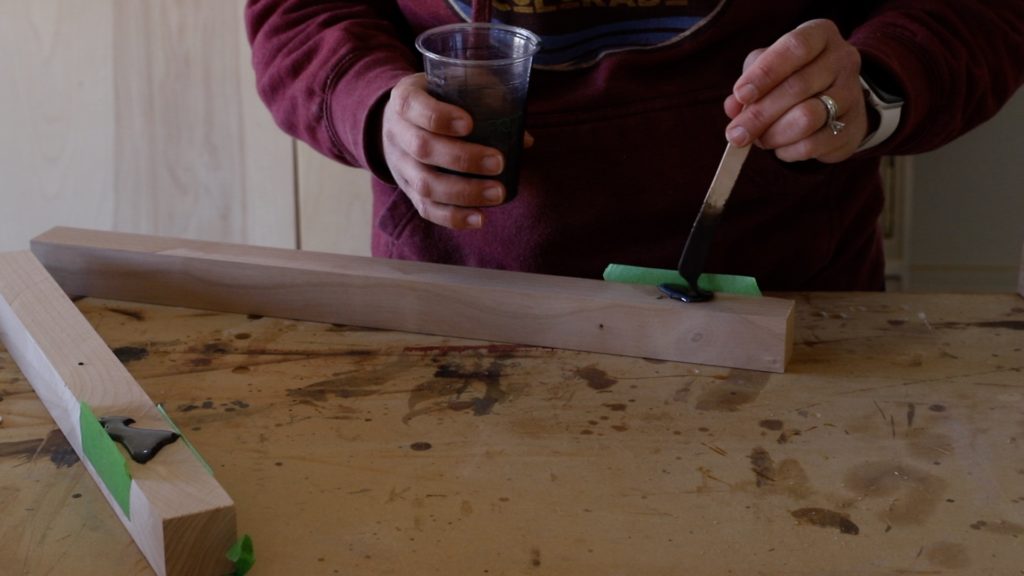
In using knotty alder, it also meant that I had quite a few large knots in the woods. I filled them all with epoxy that I tinted with grey paint pulverisation. It fills them in really nicely and provides a more finished look.
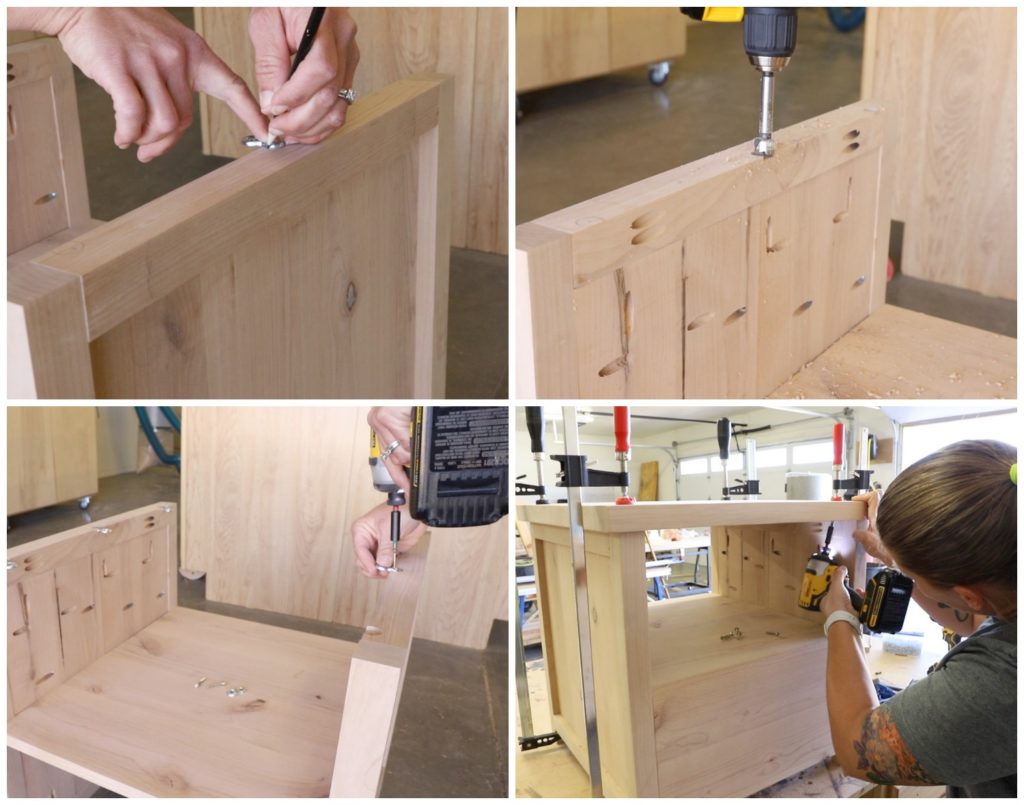
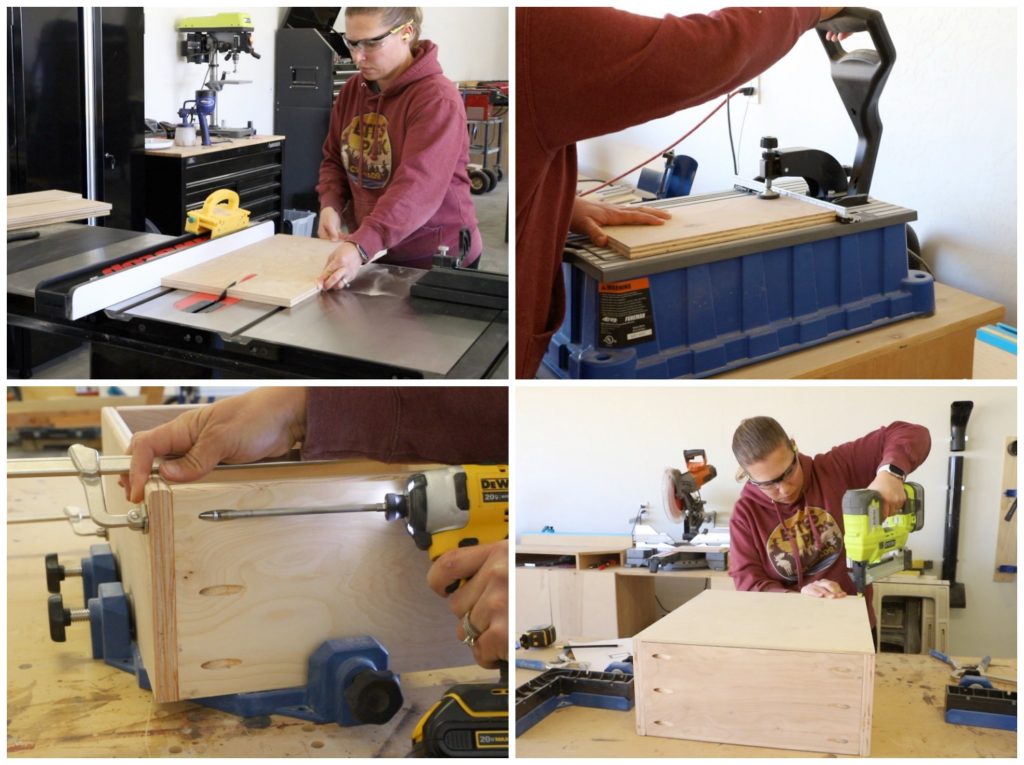
Build The Side Panels and Shelf
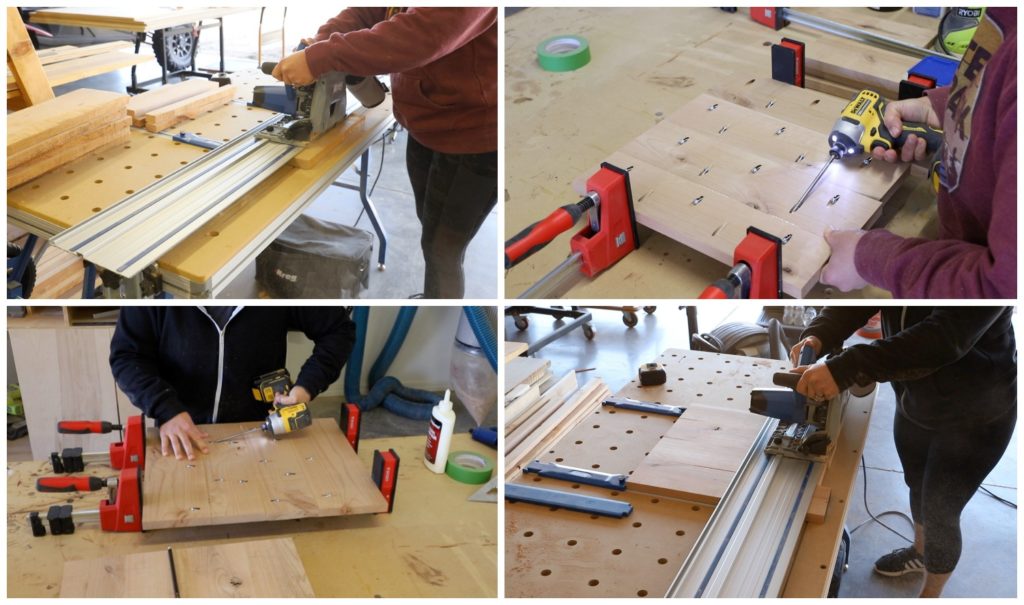
To become started, you lot'll want to build the side panels and the shelf. Cutting all of the forest to the dimensions listed in the printable plans. Drill three/four″ pocket holes into the boards. Glue upward the joints and clamp together, and so secure with i 1/4″ pocket screws. I cut the panel boards a bit long because information technology's difficult to ensure they are assembled perfectly flush with each other. I used my Adaptive Cutting Arrangement to square up one end, so turned the panel around to trim it downward to size. I followed these same steps to build the shelf of the table as well.
Drill three/4″ pocket holes into all four sides of the side panels and each finish of the shelf.
Build the Dorsum Panel And Drawer Front
Drill three/4″ pocket holes in the boards that make up the drawer front end and dorsum console of the side table. Glue and clench the boards together, and then secure with 1 one/4″ pocket screws.
Assemble The Table Base of operations
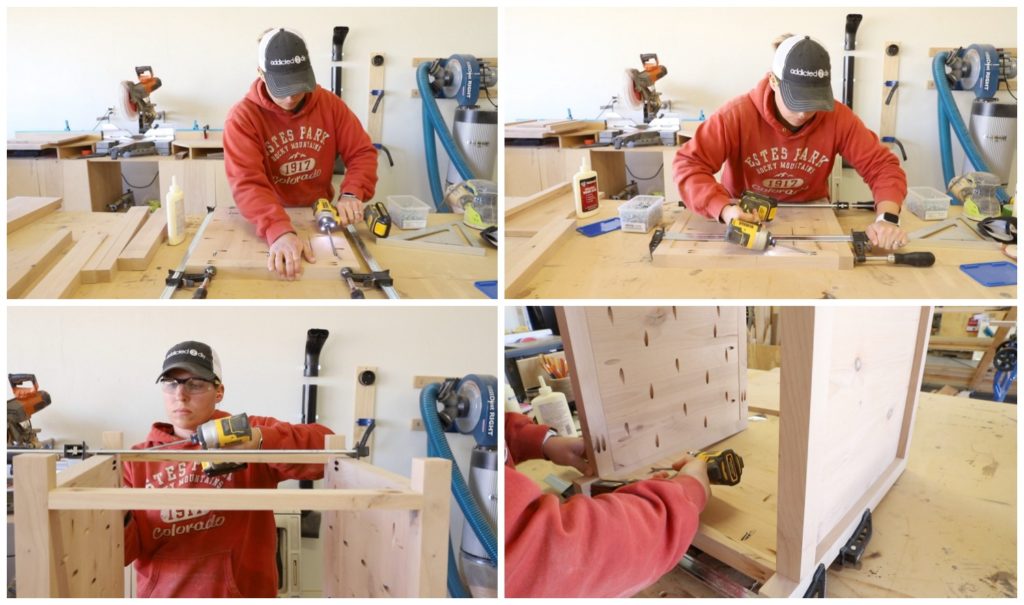
With the panels built, it is time to gather the table base. Drill 1 1/2″ pocket holes into the 17 1/2″ ii×2 pieces. Glue and clamp these pieces to the summit and bottom edges of the side panels. Secure in place with 1 1/4″ pocket screws. Attach the legs with woods glue and 2 1/ii″ pocket screws as well as 1 ane/four″ pocket screws where the panels run into the legs.
Attach the stretchers to the front end and back sides of the table base, 1 1/ii″ up from the bottom of the legs. Use forest glue and 1 i/iv″ pocket screws to attach.
Mucilage and clamp the solid back panel of the table in place. Secure with 1 i/4″ pocket screws.
Build The Table Top
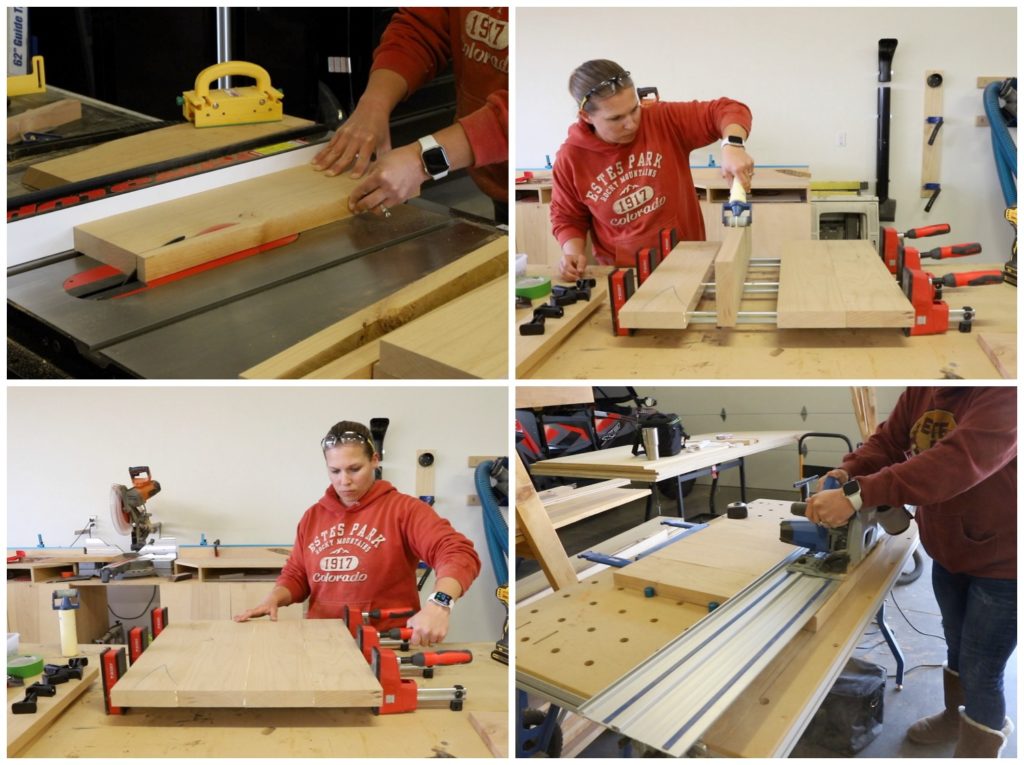
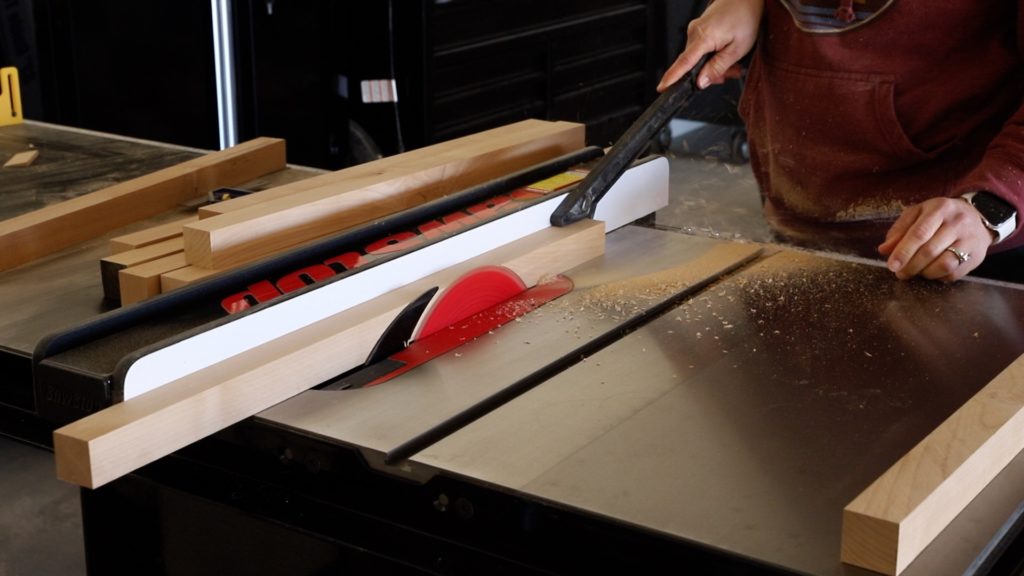
For the table top, I ripped 6/four knotty alder downward to 5 one/2″ widths. half-dozen/4 lumber is one 1/ii″ thick, so ripping them to 5 1/2″ wide makes them the equivalent of one×vi boards. Once again, I cutting these boards a little long to trim up later. I glued up the edges of the boards and clamped them together. Be careful not to over tighten the clamps when gluing up the top to prevent bowing. I let the gum cure overnight, so trimmed the table top down to size on my Adaptive Cut Organization.
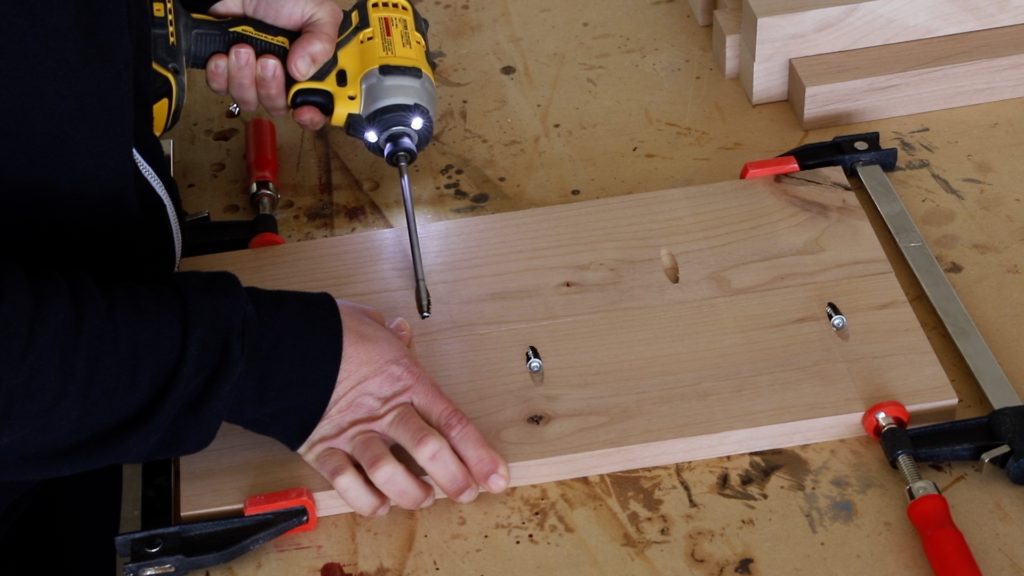
Attach The Tabular array Peak
I used desktop fasteners to adhere the tabular array top to the base. I used iii on each side and traced around the smaller side with a pencil. Using a iii/4″ forstner chip on my drill, I drilled a pigsty approximately 1/viii″ deep. The fastener should exist flush with the pinnacle of the base of operations. I fastened the fasteners with 1 1/4″ wood screws. I centered the tabular array summit over the base and and then clamped it in place. I then attached information technology through the other end of the fastener with one 1/4″ forest screws.
Build Drawer Boxes
I ripped my plywood pieces to 7″ wide and so cutting them downward to length on my miter saw. I drilled 3/4″ pocket holes into the front end and back pieces of the drawer box. I glued and clamped the pieces together, and so secured them with ane one/4″ pocket screws. I cut 1/four″ plywood to match the dimensions of the drawer box, then attached it with wood glue and 3/iv″ narrow crown staples. You can also utilise brad nails for this.
Installing Drawer Slides
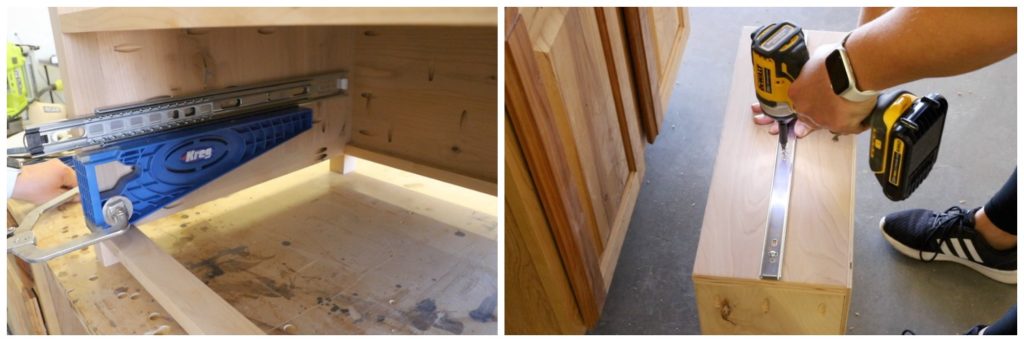
Install the drawer slides using the Kreg drawer slide jig. For this table, rest the drawer slide jigs on the bottom stretcher and clamp into place. Drill i/16″ airplane pilot holes into the drawer slide holes and attach with the included screws.
For the drawer box, center the drawer slides on each side of the drawer box. Drill pilot holes and so adhere with the included screws.
Attach The Drawer Front end
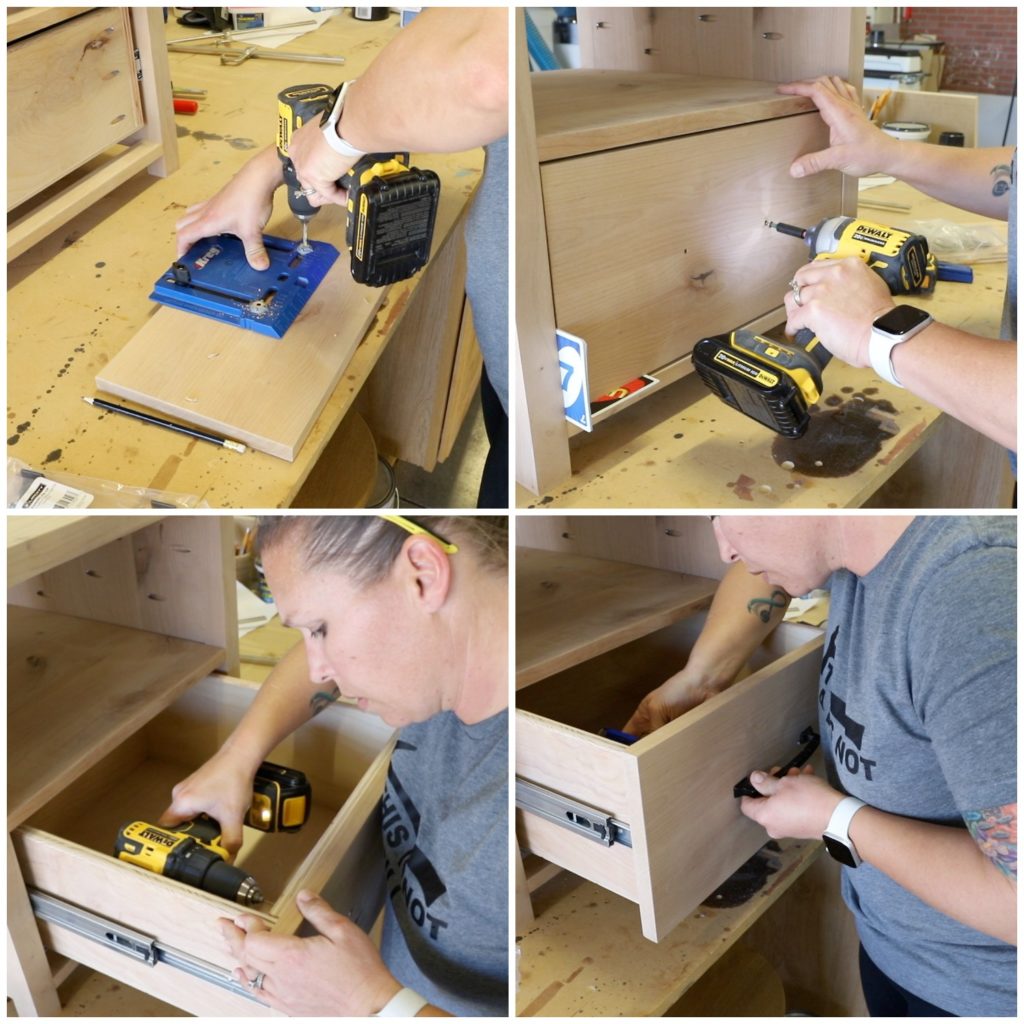
To adhere the drawer front, employ the Kreg cabinet hardware jig to drill the holes for the handle/pull you lot will be attaching. Set up the jig so the hole placement is the same as your hardware. Drill the holes into the drawer front end only. Center the drawer forepart over the drawer box. Playing cards piece of work neat to set an even gap all of the way around. Drive 1 one/4″ wood screws through the holes and into the drawer box. Pull the drawer out and drill pilot holes into the inside of the drawer box close to all 4 corners. Attach the drawer front end with ane 1/4″ woods screws. Finish drilling the iii/16″ holes through the kickoff 2 holes drilled. Adhere the drawer handle/pull.
Cease the project as desired
This project tin exist finished any way you similar. I am choosing to leave information technology natural for the moment until I build the matching coffee table. I likewise need a picayune time to actually decide just how I want to finish it.
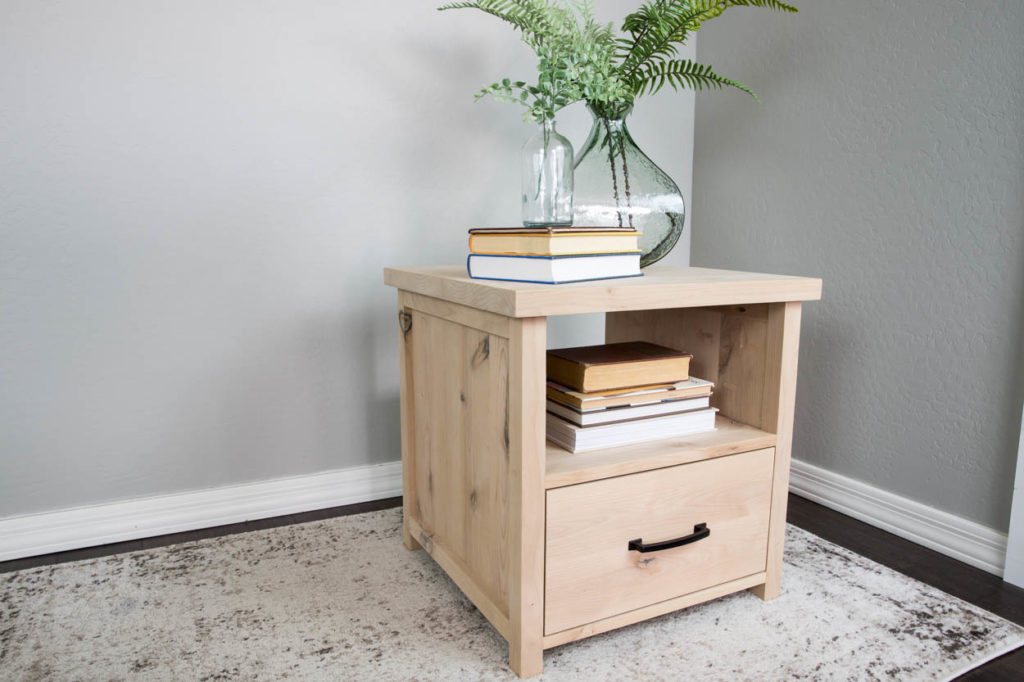
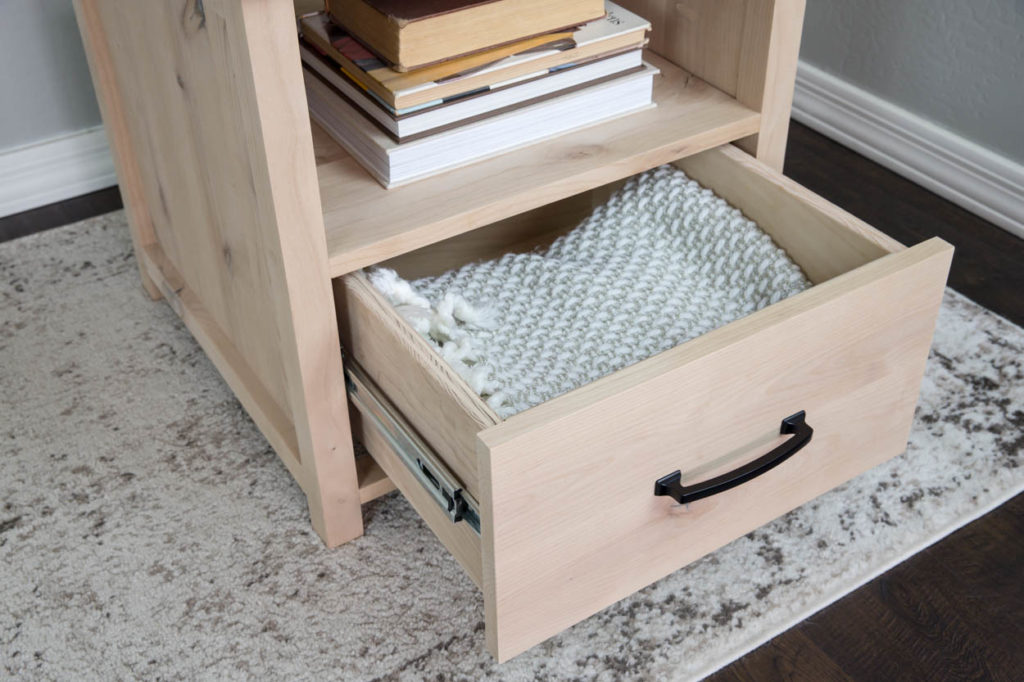
I'll be honest, I'k kind of loving the black hardware against the natural wood. I may get pretty lite on the finish with this. What practice yous think?
Make certain that you visit Build Something to go the plans for this projection! If y'all desire to add information technology to your project list, exist sure to pin information technology for later!
DISCLOSURE: I was provided products and/or compensation for this mail service. All opinions and ideas are 100% my own.
camachothatted1966.blogspot.com
Source: https://addicted2diy.com/how-to-build-a-side-table-with-storage/
0 Response to "Simple End Table With Drawer Plans"
Post a Comment